
I arrived just before 10 on a very autumnal day and found myself on a pretty South London street. Gill runs the workshops from her converted garage, a lovely little space filled with all the tools and materials necessary to create silver clay jewellery.
 |
| My workspace |
After a cup of tea and a chat we got started. I was very excited! Yes, I am a geek. Gill explained the different types of silver clay, such as slow dry, paste, syringe etc. and the different types of tools we would be using. Then we got started on our first piece - a charm with a fingerprint on it.
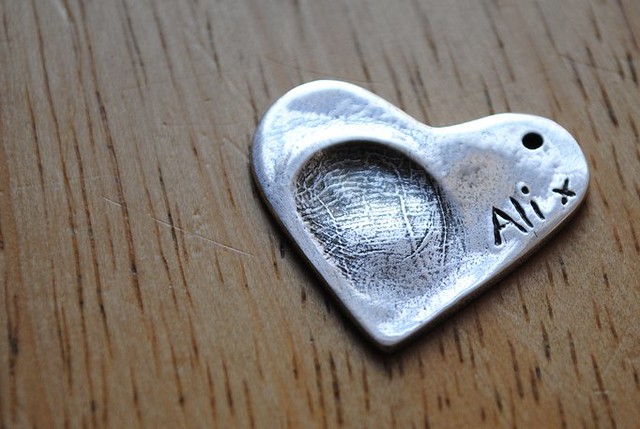
 |
| Fingerprint charm drying |
It became apparent to me very quickly that what I had been doing when I previously used silver clay had been waaaaay off the mark. I had been getting myself into a real pickle by using too much water and handling the clay way too much. When I make my air-dry clay creations I tend to make it up as I go along - add bits here and there, change things, work with it as I go along. But with silver clay a little planning is necessary - it dries out pretty quickly so you need to have a clear plan of what you are going to do before you start.
Whilst our fingerprint charms were drying we moved on to create a charm with a stone set into it. This wasn't something I had given much thought to before the course but I think it was my favourite! I loved picking a stone and setting it straight, cleaning it up and putting the whole thing together.
 |
| Stone-set pendant drying, before cleaning and finishing |
Although it is technically possible to fire a charm set with stone on a hob it's probably not the best idea, fortunately Gill has a proper grown up kiln :) Can you see my little charm firing away?
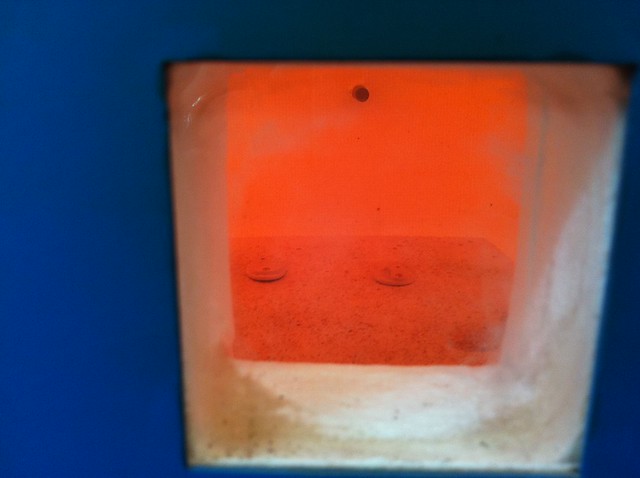
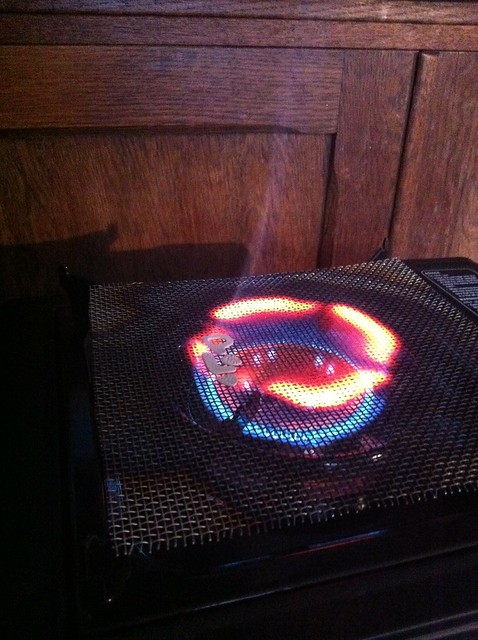
The kiln takes about 30 minutes, so in the meantime we fired our fingerprint charms on the hob...
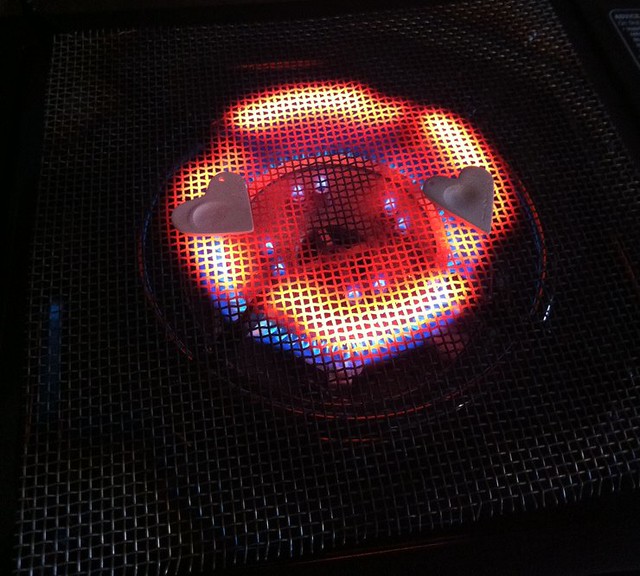
Whilst the charms were firing I had a little clay left in my packet to play with, so I made little charms for my girls. A 'L' for Lillia, and a 'P' for Phoebe, plus a tiny little textured heart to go with each. We then fired these on the hob too. In this picture you can actually see the binder burning off in a little plume of smoke...
And the rewards for my efforts? Four solid silver charms (well, six if you count the fact I made two mini hearts too)!
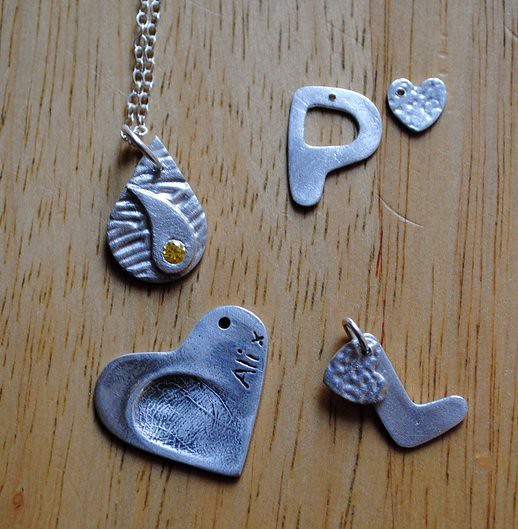


And I still had a little blob of clay left in my 7g packet! Not bad for a few hours work and one small packet of silver clay.
I was really pleased with my creations and thought the whole day was brilliant and really good value for money. I was especially pleased with my stone set charm, especially as in the weeks following I had loads of comments on it and I enjoyed being able to casually say, "Oh this? Yah, I made it..." Hee!
I have a head full of ideas now, I can't wait to try them out! Whether or not I shall sell any silver clay creations I don't know yet, jewellery is a competitive and saturated market and I am not sure yet if I want to join in. I would very much like to develop my silver "Pow" charm that's for sure...so watch this space!

